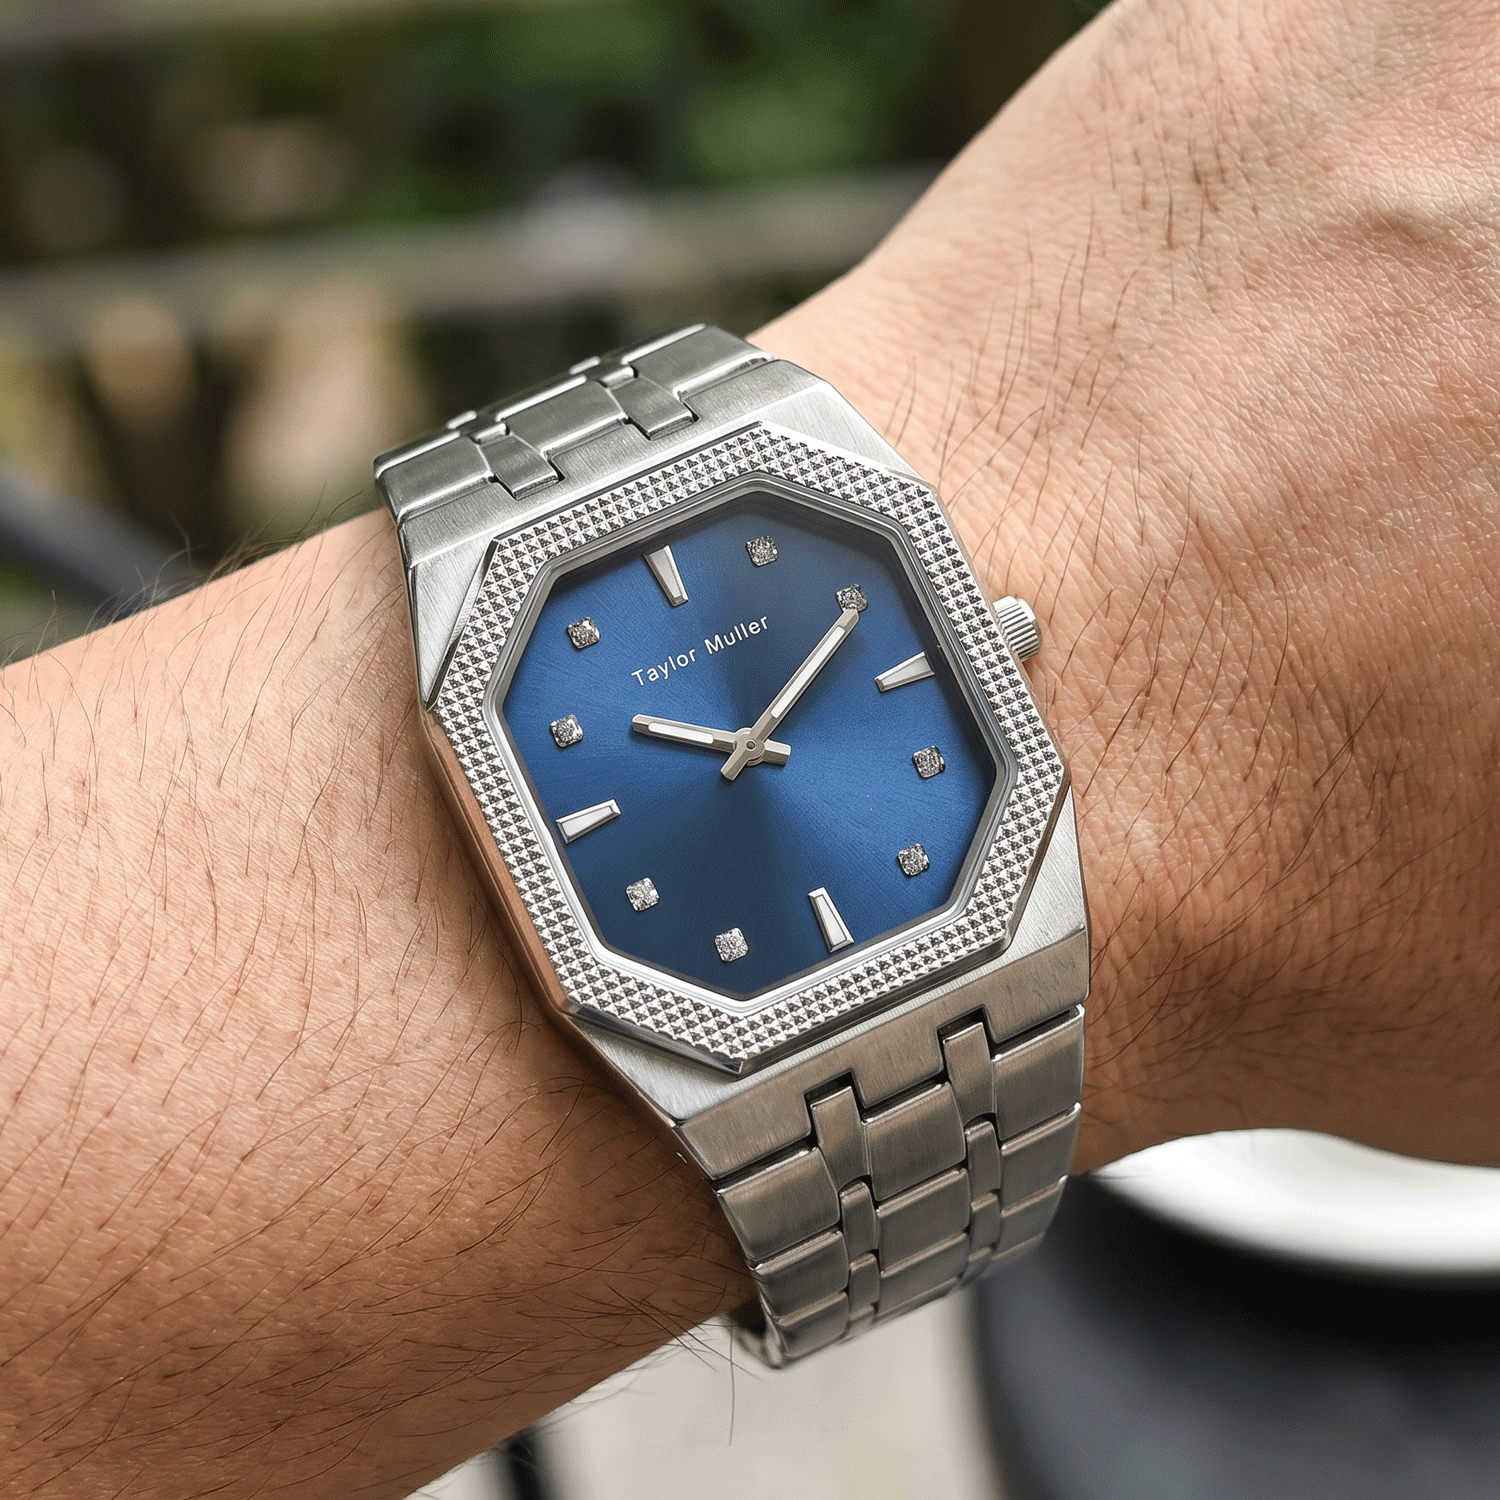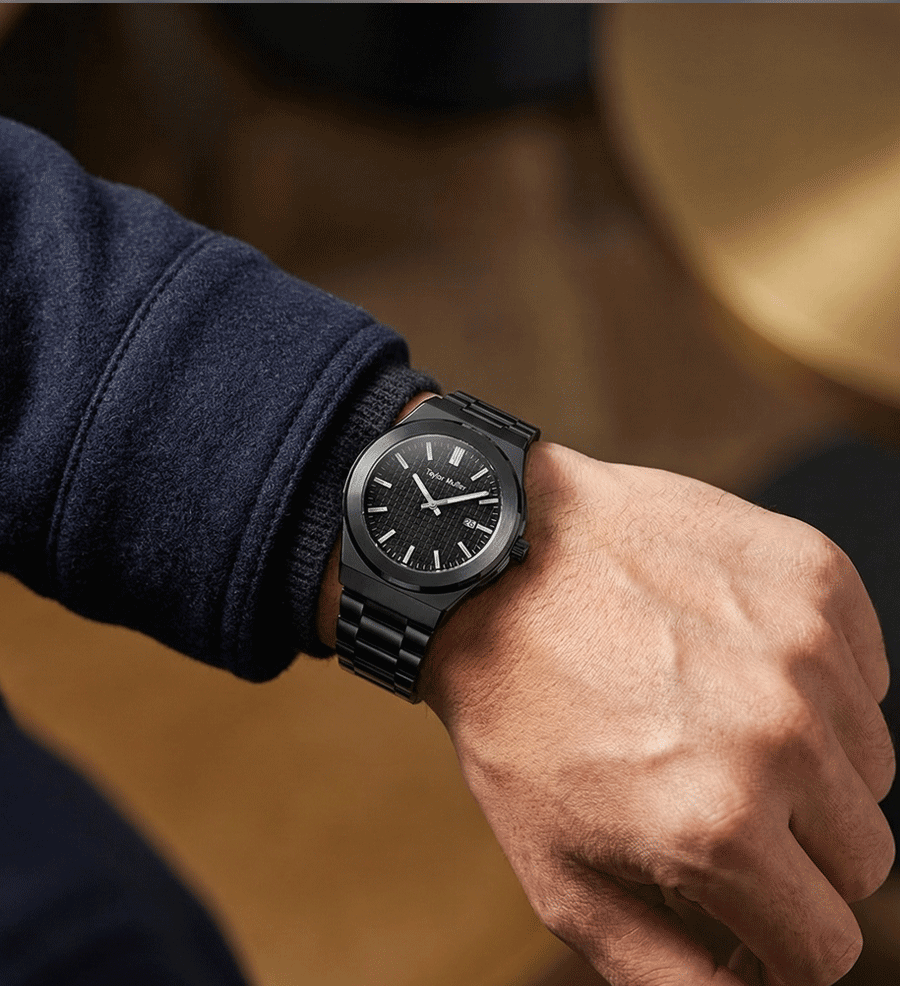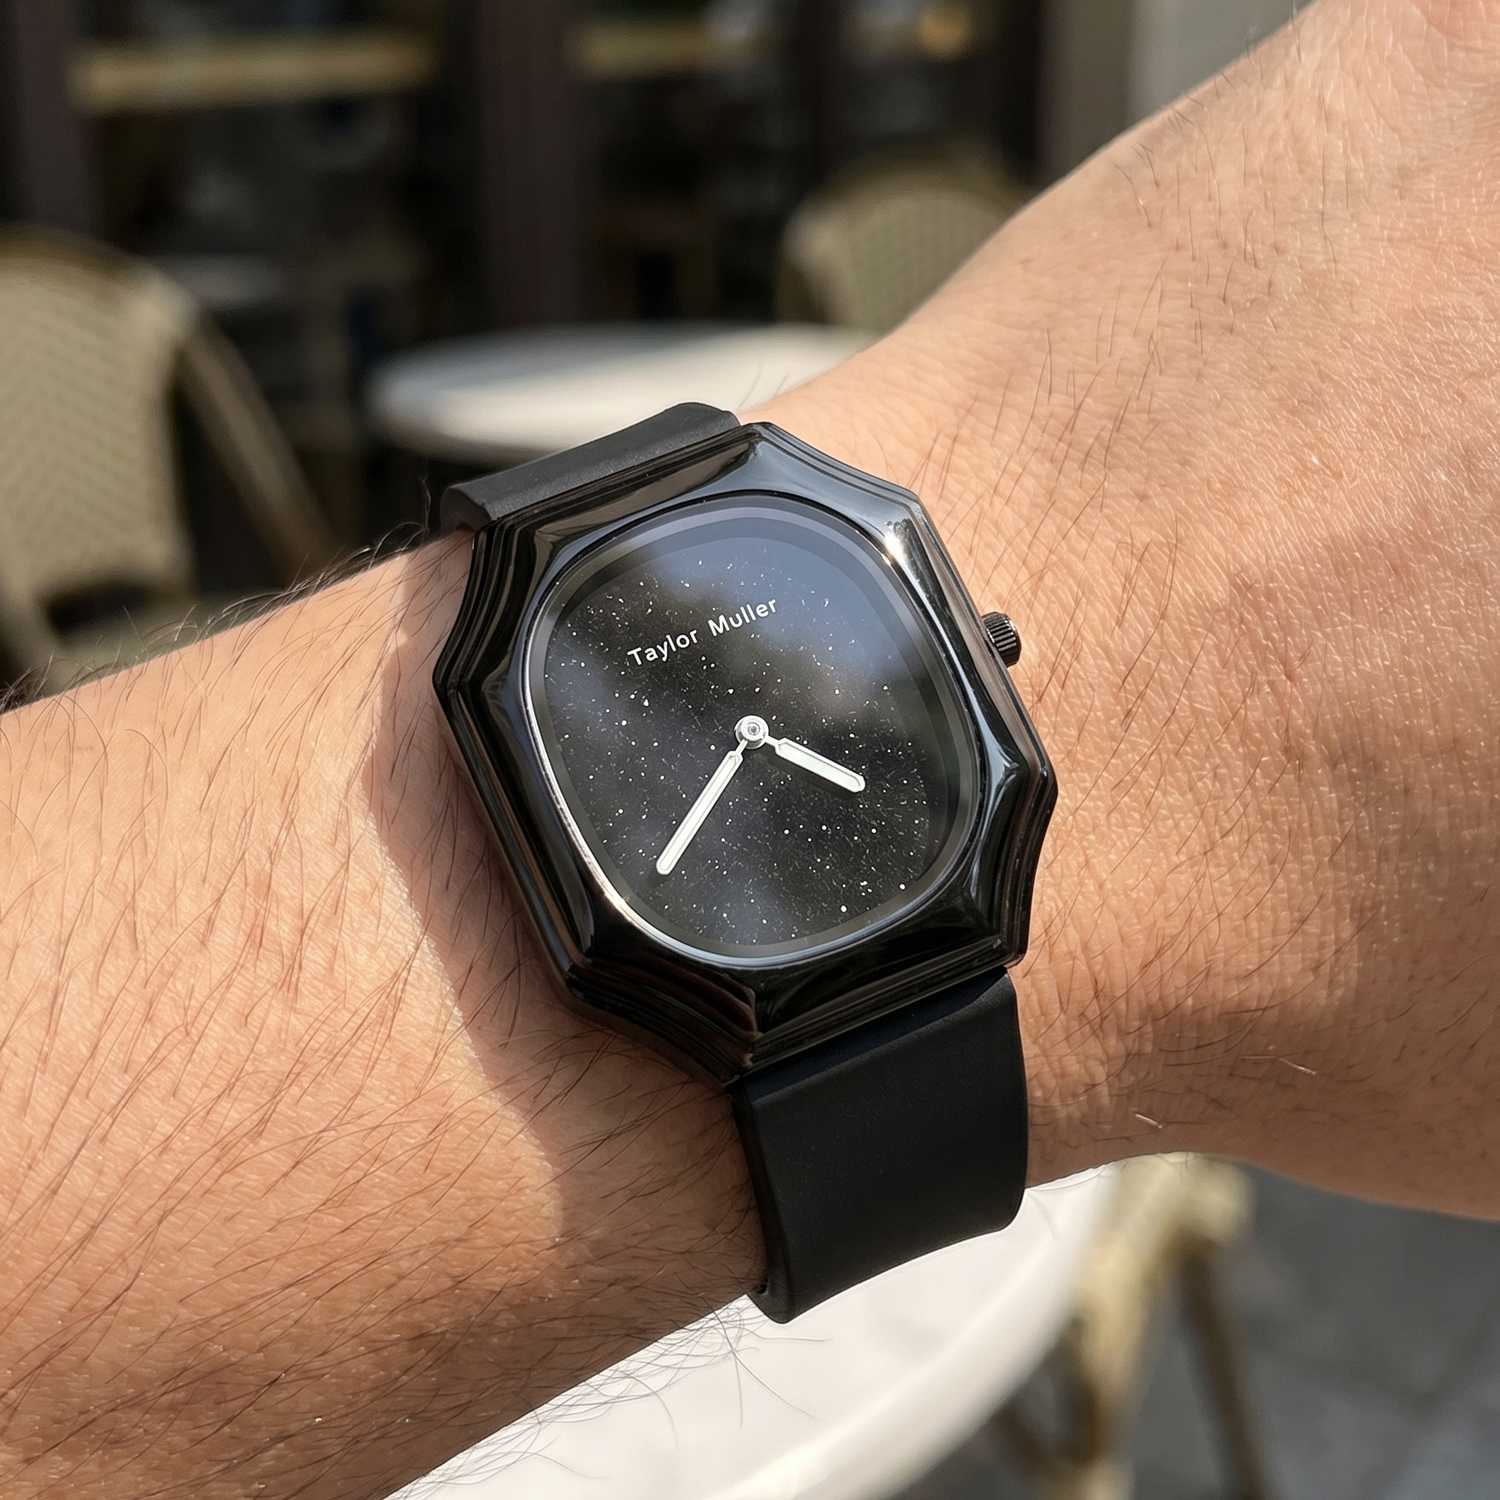
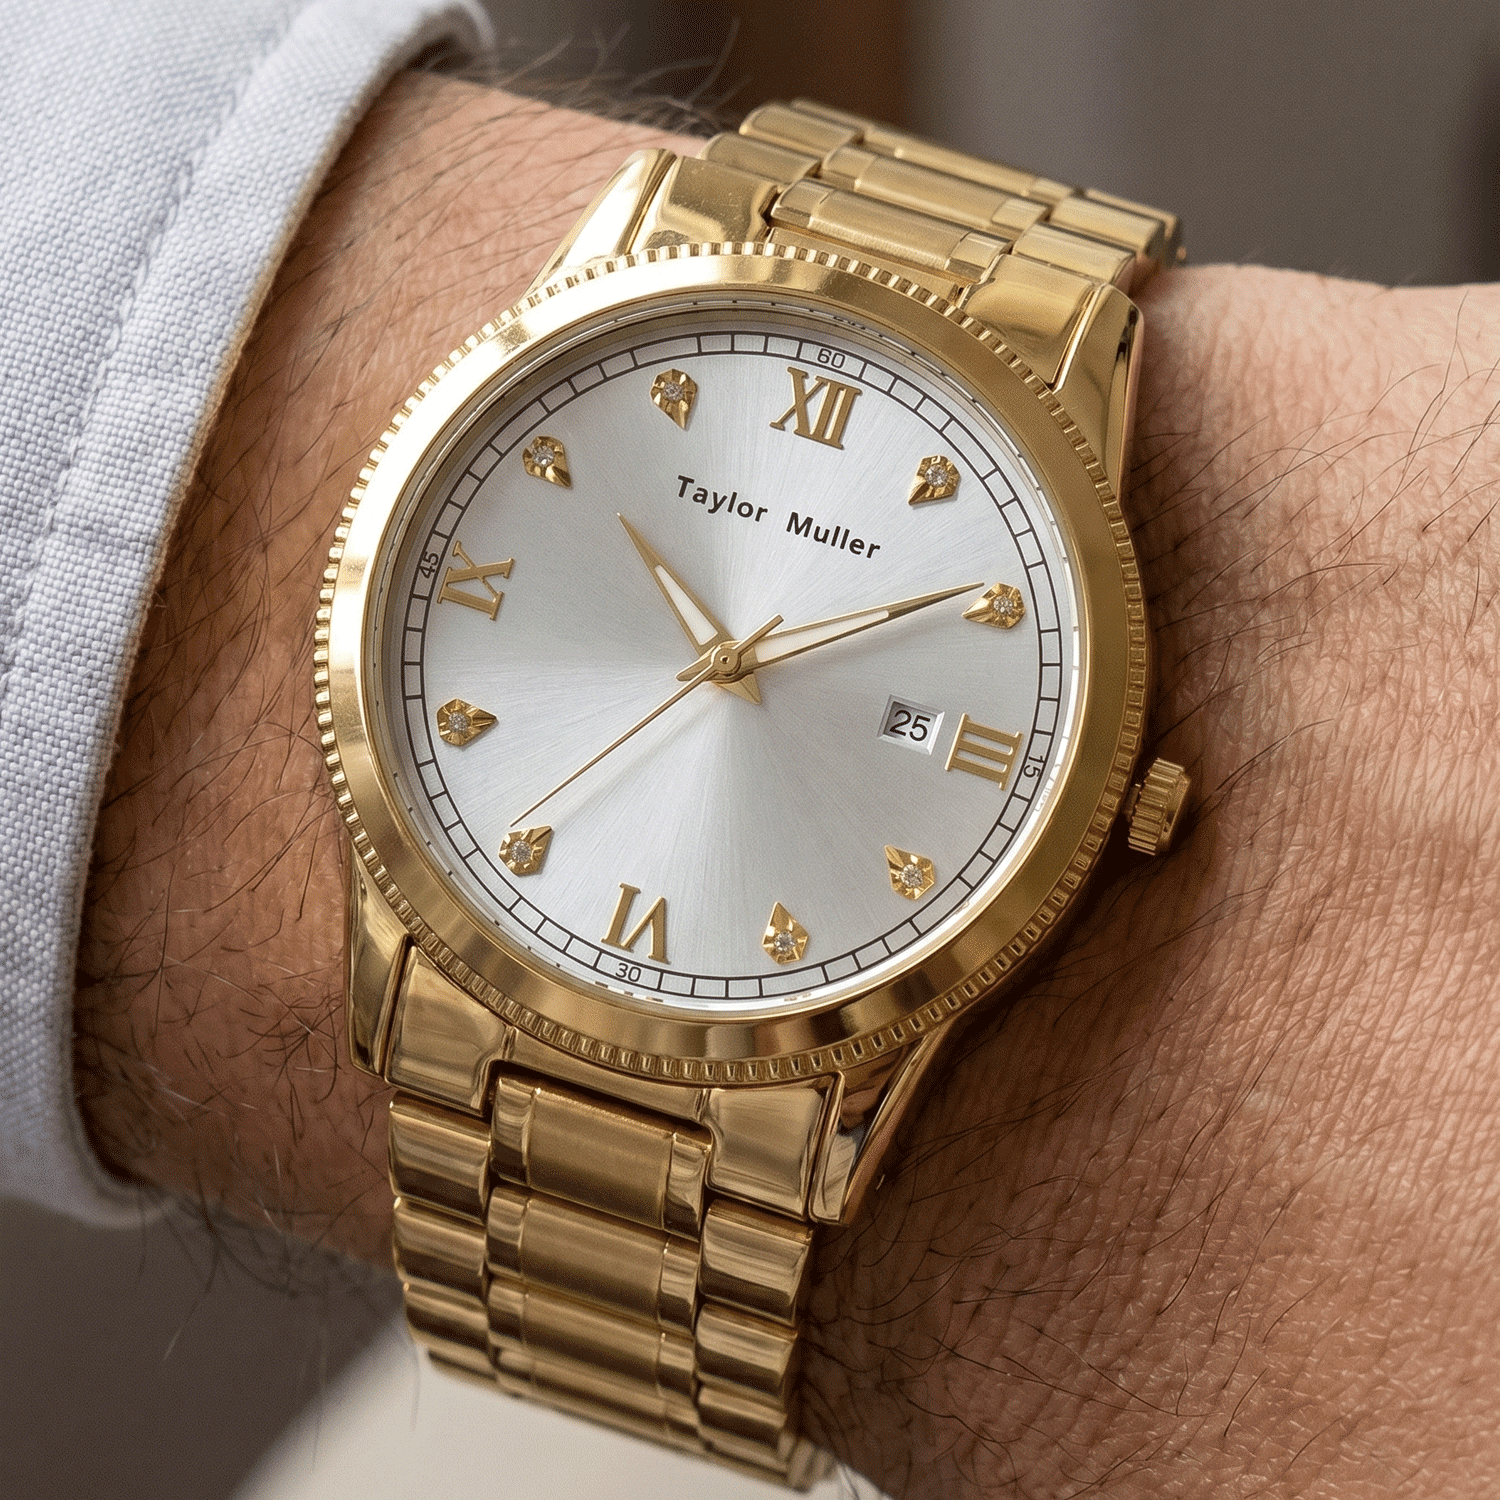
Two dials can carry the same design and still read as two different price points. At three metres they are the same photograph; at thirty centimetres one looks like a product and the other looks like a printout. Print versus applied markers is the cheapest lever you have on how expensive a dial feels — and, if it is done badly, the fastest way to create rejects that nobody sees until the watch is assembled.
The four options you will be quoted
Have a quantity in mind?
Tell us the model, the colours and the quantity — we come back with the exact MOQ, target price and lead time for your build, within 24 hours on working days.
| Option | How it is made | Cost pattern | Where it fits | What to check |
|---|---|---|---|---|
| Pad-printed | Ink pressed onto the dial, one colour per pass | Cheapest; more colours mean more passes | Entry and mid ranges; simple, graphic dials | Colour registration between passes, and whether edges stay crisp at reading distance |
| Applied indices | Separate metal markers, fitted one by one | The handling, not the metal, is the cost | Mid to premium; anything that has to catch light | Alignment at 12 and 6 first, then glue residue, then hand clearance |
| Printed or applied lume | Luminous compound printed, or set into metal frames | Printed is cheaper; frames hold more compound | Sport and tool dials | Glow strength and how evenly the compound sits |
| Hybrid | Applied metal frame with printed lume inside | Most of the look, less of the cost | The most common compromise on sports dials | Alignment between frame and printed fill — this is where a cheap hybrid shows |
Why applied indices cost more
- The parts. Every marker is its own component, finished separately, and a dial can need twelve of them.
- The fitting. They go on one by one, against a jig. Printing is one pass; fitting is twelve small operations per dial.
- The rejection. A speck of dust under a marker, a trace of glue at its edge, a marker sitting slightly off — none of it is visible until the dial is finished, and then the dial is scrap.
- The clearance. Hands have to pass over markers without touching them. That is checked at assembly, and it is the reason a taller index means a different hand height.
- The handling afterwards. A dial with applied markers is a more fragile surface to store, move and pack.
Where the line sits by market
At an entry price, printed dials are the honest choice: clean graphics, no handling risk, and a photograph that still looks sharp on a phone screen. In the middle, the usual compromise is applied markers at 12, 3, 6 and 9 only, or a hybrid with printed lume — most of the perceived value, a fraction of the handling. At the top, the whole set is applied, and the dial itself does more work: sunray brushing, mother-of-pearl, stone or enamel finishing. The decision at 12 o’clock is really a decision about rejects: every marker you add is another chance for a dial to fail inspection.
From our workshop
Printing is one pass through the machine. Applied markers are put on one at a time, and that is where the rework comes from — not from the printing, from the fitting: dust under a marker, glue at the edge, a marker half a millimetre out at 12, or a set that is tall enough to interfere with the hands. On a sample we look at two things before anything else: the 12–6 line under a loupe, and whether the hands clear every marker at every hour. On the dial side we handle logo printing, applied indices, sunray, mother-of-pearl, stone and enamel finishing — the full list is on the OEM & ODM services page, and the 29 references in the catalogue show how each of them reads in a finished watch.
What to put in the specification
Write the dial as a list of elements, not as one word: the colour (a Pantone code or a physical sample), whether the logo is printed or applied, the index style, whether there is lume and whether it is printed or set in frames, and whether the dial is flat or curved. If you send a photograph of the dial you like, we can tell you which of those it is — and what it adds to the sample, before you commit to it.
A sample runs 15–20 days and its fee comes off the bulk invoice; production is 30–45 days after approval; MOQ is 300 pcs per model, or 200 pcs when only the dial logo changes on an existing reference. If the budget only reaches printed markers, say so early — a well-printed dial beats a badly applied one every time.
Further reading: Hands and lume: what actually changes readability · Polished, brushed or two-tone: what case finishing really costs